💎 Interface
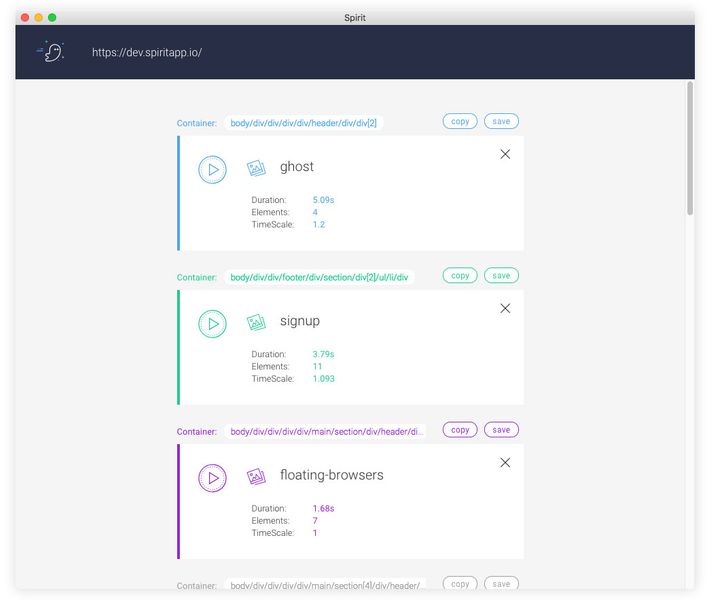
At the top, the connected web page url is shown. The animation groups on your web page will be listed here. Simply click one to edit.
Animations are grouped by its container. These groups can be exported to .json containing the animation data. The
web player can load and play this data respectively.
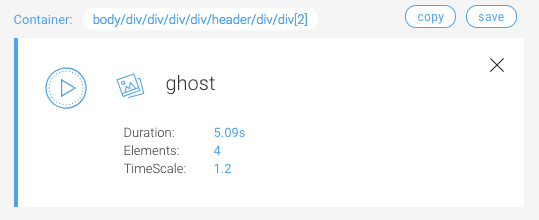
Container
The container is an element where this animation group is assigned to. All elements will be resolved relative to this container. More on element resolving.
By default the container points to document.body. Best practise is to assign it to the parent element of where your
assets live.
More on assigning a container.
Copy and Save
Copy
When you click the copy button, the animation data (all groups for this container) will be copied to your clipboard, and
can be used in the web player as follow:
spirit.loadAnimation({ animationData: /* paste here */ });Save
Save the file to disk by clicking the save button. Load the file as follow (uses XHR):
spirit.loadAnimation({ path: './animation.json' });Fetching animation data is optimized, the url is cached and will be fetched from the server once, even if you load the same animation twice.
After save button is clicked, it remembers the saved path. Clicking it again won't show you a file dialog, but overwrites
the previous selected file with the new animation data. If you'd like to show the file dialog again make sure to hold
ALT-key and click on the save button again.
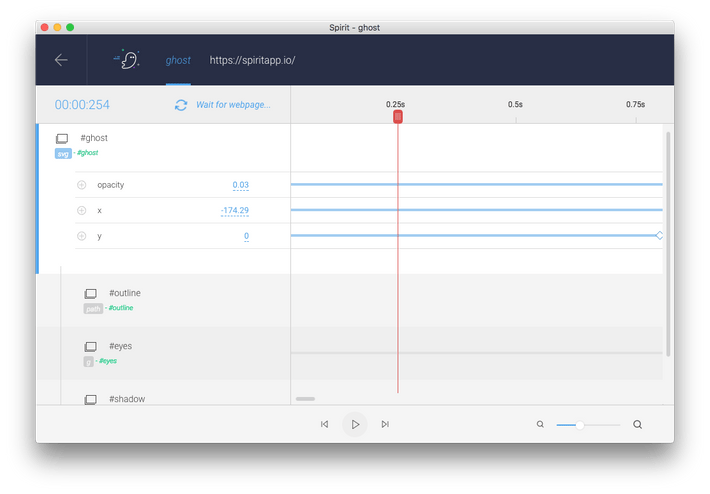
Elements are listed vertically. Each element has its own timeline. You can select one timeline at a time, this way you won't get distracted by other open timelines and keyframes. Focus on one element and move on to another.
Open element timeline
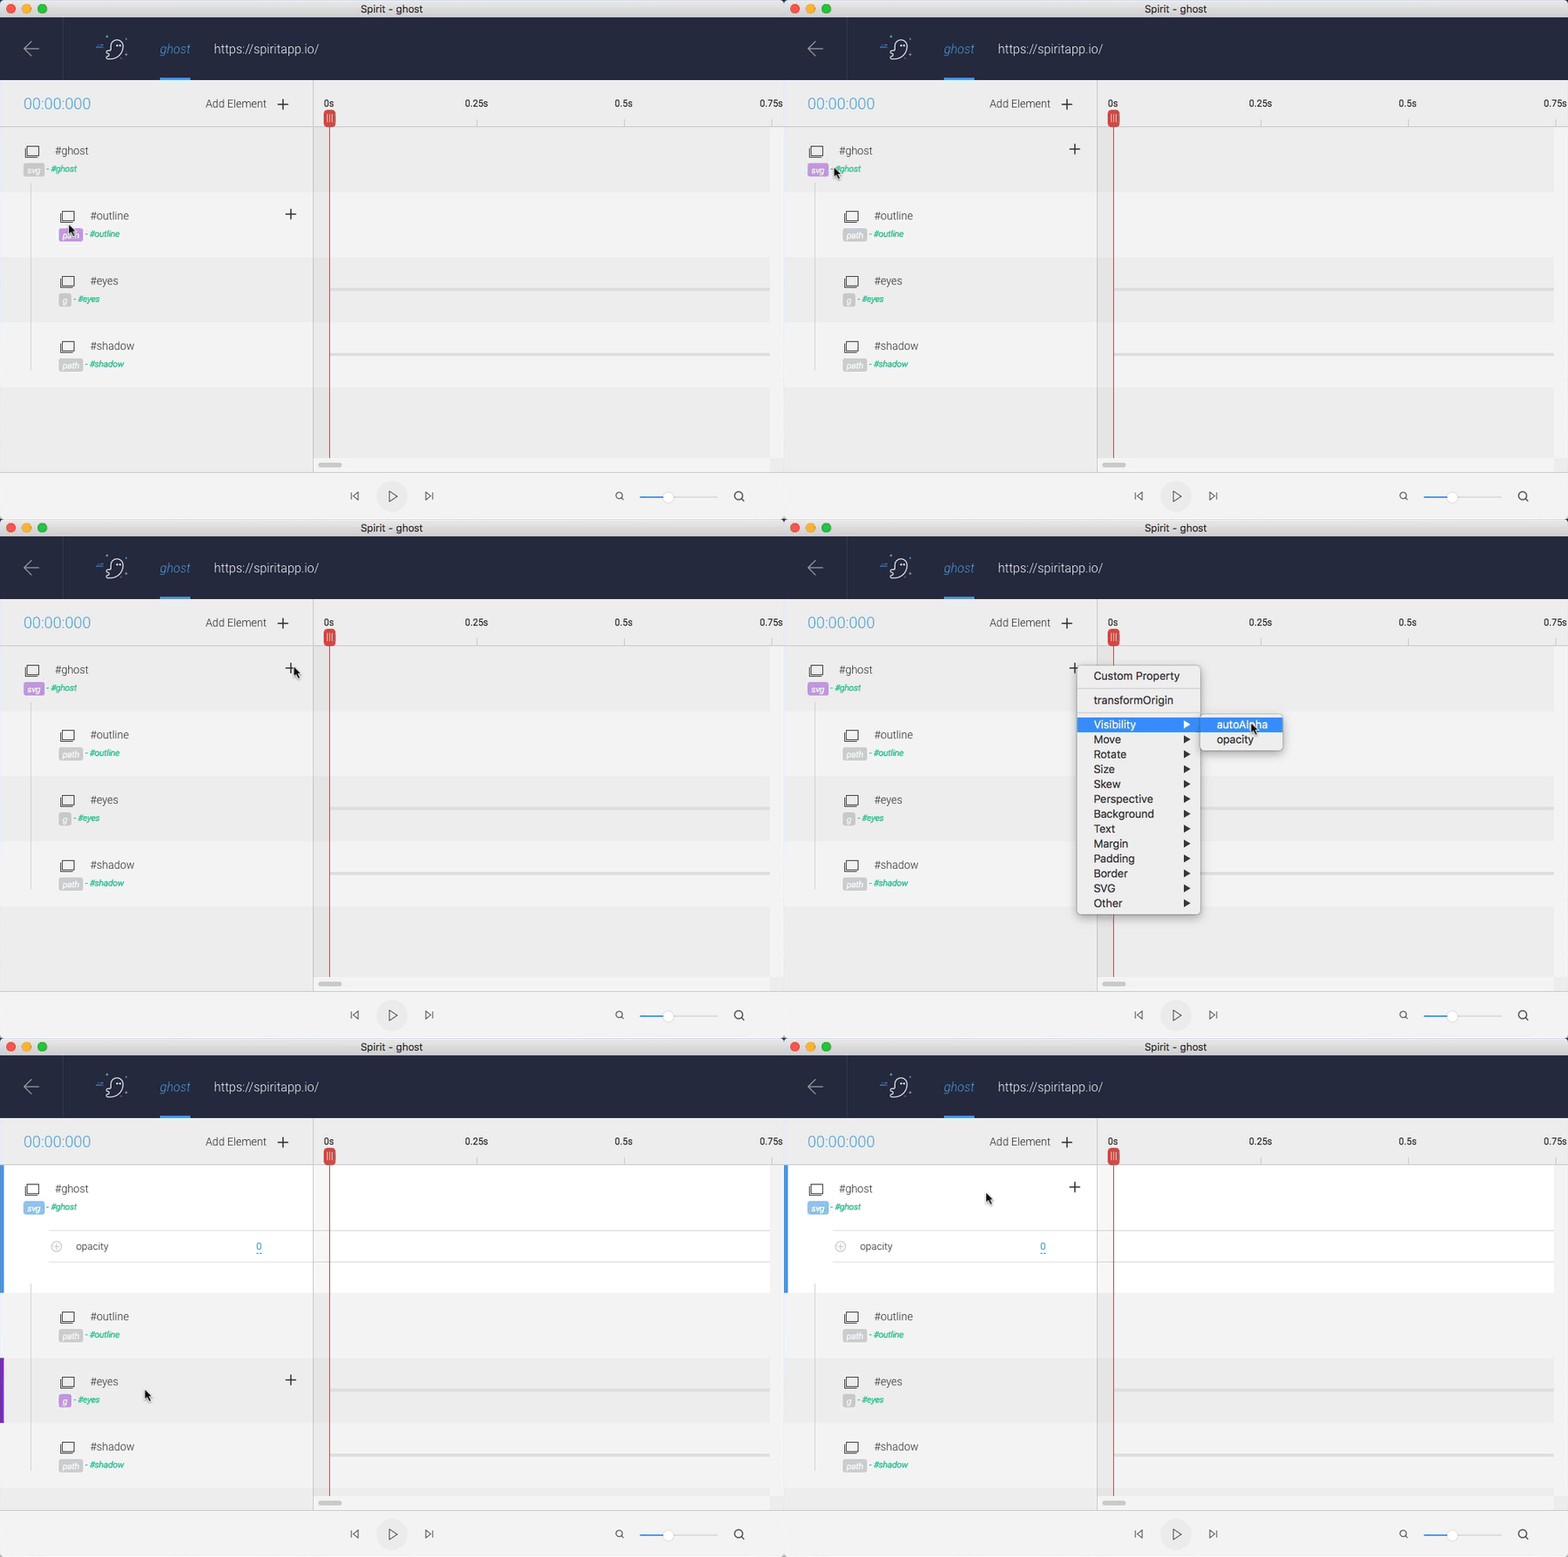
Click on the label to select the timeline. Only timelines with properties can be expanded. If you don't have any properties on the timeline yet (for example when you start your first animation), make sure to add a property first.
Property
Add a property
Click on the + icon to add a property. A context menu will appear with the most commonly used properties.
You can always change the property later on by simply clicking on the property name.
Choose "Custom Property" if you'd like to use an arbitrary property name. For instance
morphSVGordrawSVG.
Remove a property

Right click on the property to remove it. This will remove the complete timeline and cannot be undone.
Element
Add an element
Press the Add Element + button (on the top next to the time indicator) to add another HTML/SVG element to your group.
As you can see, you can easily see how elements are nested in the active document.
Remove an element
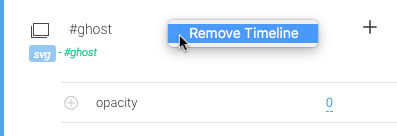
Right click on the label of an element to remove it. This will remove all properties and timelines and cannot be undone.
You can animate any CSS or GSAP property.
List of animatable CSS properties.
The web player uses GSAP as the default animation tween/playback strategy, which means we can use GSAP specific properties as well.
For example plugins drawSVG or morphSVG.
Nested properties
Some properties are readonly by default and cannot be changed at runtime.
Thanks to the AttrPlugin, we can use attribute values by prefixing the attribute in
Spirit Studio with attr..
Example, changing the radius of a SVG <circle> element:
attr.r
This is similar to
gsap.to('circle', { duration: 1, attr: { r: 10 } })
The web player parses dot-separated property names into these nested objects, meaning that css.x is also valid and is
exactly the same as x because GSAP maps x to css.x automatically. See the CSS Plugin.
Scrollable number
Once the property is added, the value is set to the computed value of the element.
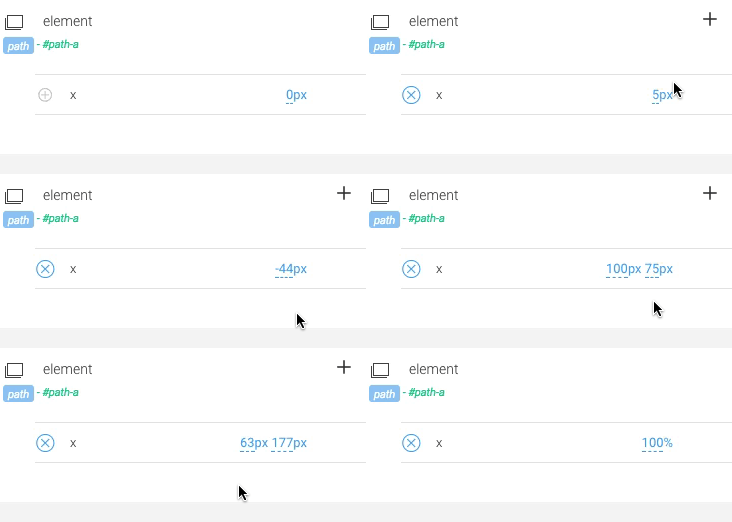
Numeric values are scrollable by default, you can drag the number up and down to increase/decrease the value and the results are immediately reflected on the web page.
Hold
ALT-key to slow it down orSHIFT-key to speed it up.
Editable
Click once on the value and the value will be editable. You can now type in any value. The value will be synced to the web page on each key press.
You can increment/decrement numeric property values by pressing Up and Down:

Press Enter, ESC or simply lose focus to submit the value.
Dynamic Expressions
The value can be anything that the web player accepts. It's even possible to use javascript code as value to make things dynamic and more flexible.

Every value wrapped in curly braces { } will be evaluated during group construction group.construct().
By default the this keyword is mapped to the element itself. But you can easily add new mappings.
Add & Remove
Adding and removing keyframes is very similar to Adobe After Effects.
Click on the + icon (on the left of the property name) to add a keyframe. Once added, this icon changes into a x-icon.
Click it again to remove the keyframe.
As you can see above, it's possible to select a keyframe and move the ticker back and forth to see what the outcome will be in the past or future. The x icon tells you that you've selected a keyframe. Changing the value here will change the value of the selected keyframe and doesn't create a new keyframe at the current ticker position.
Select
When you move the ticker position, the +/x icon tells you the presence of a keyframe for the current time.
You can also select a keyframe by clicking on it. Once selected, you can move the ticker ahead in time of the keyframe
and the x-icon stays visible to inform you that you've selected a keyframe. Pressing this icon removes the selected keyframe.
Duplicate

Hold the Alt key and drag a keyframe to duplicate it.
Copy/paste
Right click on a keyframe to copy it, or select the keyframe and hit CMD+C. Move the ticker to a new position and hit CMD+V to paste it.
Multi-selecting keyframes is not implemented at the moment, will be added soon.
To create more natural looking animations, you can ease keyframes. The affected duration is visible in the color purple. Select a keyframe and click on the ease label to change it.
The controls are very minimal.
Play & Stop
You can either press the SPACE key or hit the pause/resume button to toggle the playback.
Zoom
Need more control, zoom into your timeline to adjust keyframes more precisely.
Step through keyframes

Jump to next / previous keyframe by pressing CMD+Left and CMD+Right keys.
Timescale
Change the speed of your current animation
Currently not available, will be added soon.
Loop
Add A/B markers to loop your animation.
Currently not available, will be added soon.